How To Calibrate A 3D Printer Bed For The Perfect First Layer
Achieving the perfect first layer in 3D printing is crucial for the success of your projects. A well-calibrated printer bed ensures that your prints adhere properly, leading to better quality and fewer failures. In this guide, we’ll explore effective methods to calibrate your 3D printer bed and highlight top-rated products available on Amazon to assist you in this process.
Understanding the Importance of Bed Calibration
Before diving into the calibration process, it’s essential to understand why bed leveling is so important. An uneven bed can cause issues such as poor adhesion, warping, and even print failures. By ensuring your bed is level, you create a consistent foundation for each layer, resulting in smoother and more accurate prints.
If your first layer is too far from the bed, your print may not stick, leading to failed prints. Conversely, if the nozzle is too close to the bed, it may cause over-extrusion or even damage the build surface. Proper bed calibration prevents these issues, providing a strong foundation for your 3D printing projects.
3D Printing Essentials: The Best Way to Level a 3D Printer’s Print Bed
Manual Bed Leveling Techniques
Manual bed leveling involves adjusting the bed screws to ensure the print surface is parallel to the nozzle. Here’s a step-by-step guide:
- Home the Printer: Start by homing all axes to ensure the nozzle is at the starting position.
- Disable Stepper Motors: This allows you to move the printhead freely.
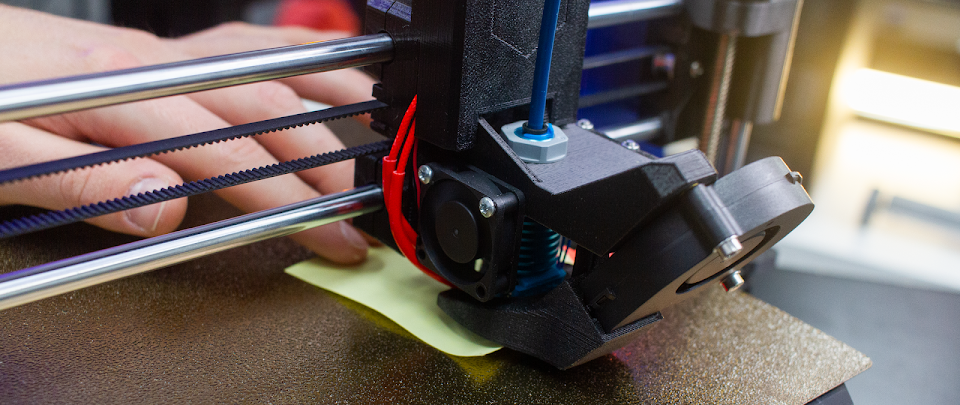
- Use a Feeler Gauge or Paper: Place a piece of paper or a feeler gauge between the nozzle and the bed.
- Adjust Screws: Move the printhead to each corner and the center, adjusting the screws until you feel slight resistance on the paper or gauge.
- Repeat if Necessary: Once you’ve leveled all corners, go back and re-check to ensure consistency across the bed.
While manual leveling can be effective, it requires regular checks and adjustments. For those seeking a more streamlined approach, investing in bed leveling tools can be beneficial.
Automatic Bed Leveling Solutions
For users who want to minimize manual adjustments, automatic bed leveling (ABL) sensors are a great solution. These sensors measure the distance between the nozzle and the bed at multiple points, allowing the printer to compensate for any irregularities.
Popular ABL sensors include:
- BLTouch: A widely used sensor that provides high accuracy and reliability.
- CR Touch: Creality’s alternative to the BLTouch, designed for their 3D printers.
- Inductive Sensors: These use electromagnetic fields to detect the bed surface, but they only work on metal beds.
Top Product Recommendations for Bed Leveling
To assist in achieving the perfect first layer, consider the following highly rated products:
- Filament Friday E-Leveler 3D Printer Electronic Bed Leveling Tool

This electronic tool provides visual feedback, making bed leveling more precise and less time-consuming. It’s user-friendly and comes fully assembled with a battery included. Many users appreciate its accuracy and ease of use.
Leveling Your Bed Just Got Easier With E-Leveler 2!
- Creality CR Touch Auto Bed Leveling Sensor Kit
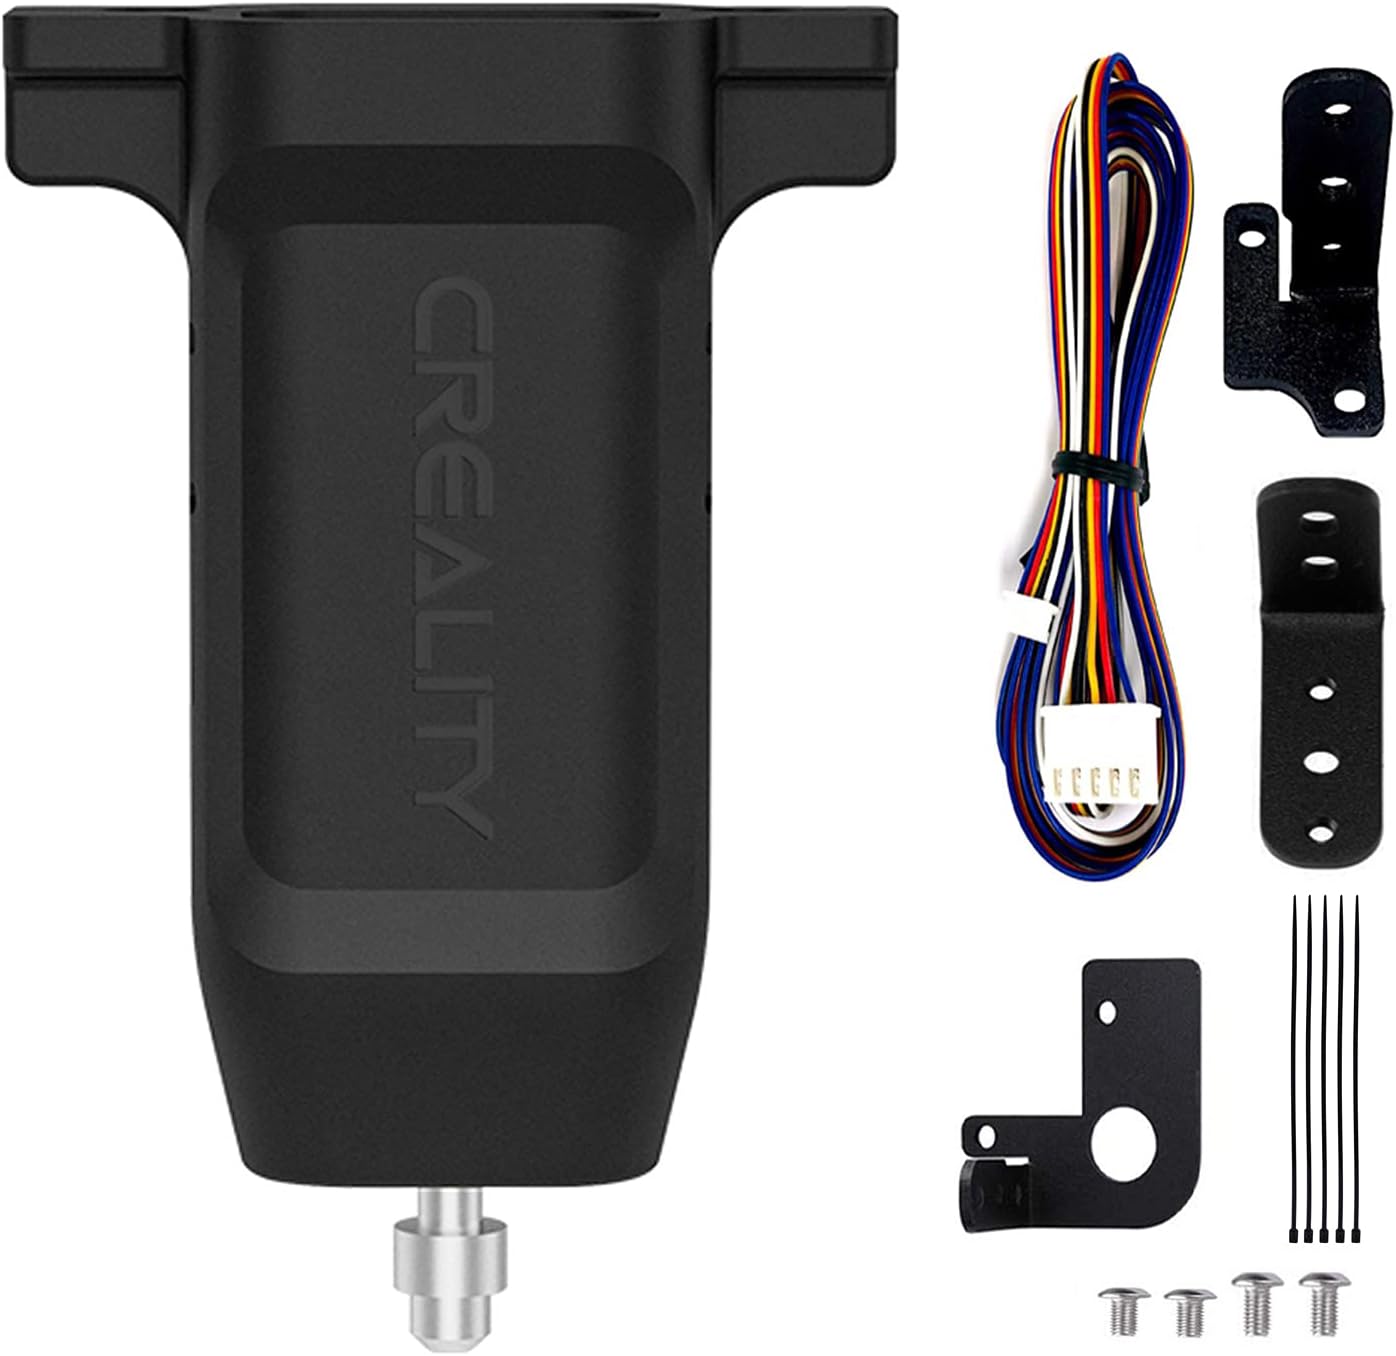
Designed for Creality printers, this sensor kit automates the bed leveling process. It features a metal probe for durability and offers high precision with a positioning accuracy of ≤0.04 mm. Users have praised its reliability and the convenience it brings to the printing process.
Creality CR Touch – Auto Bed Leveling Kit
- BLTouch Auto Bed Leveling Sensor

Compatible with various 3D printers, the BLTouch sensor is known for its simplicity and precision. It offers repeatability around 0.005mm, ensuring consistent bed leveling. Users find it to be a valuable addition to their 3D printing setup.
BLTouch for any 3D printer – Comprehensive step by step guide
- BIQU MicroProbe V2.0 Bed Leveling Sensor Kit
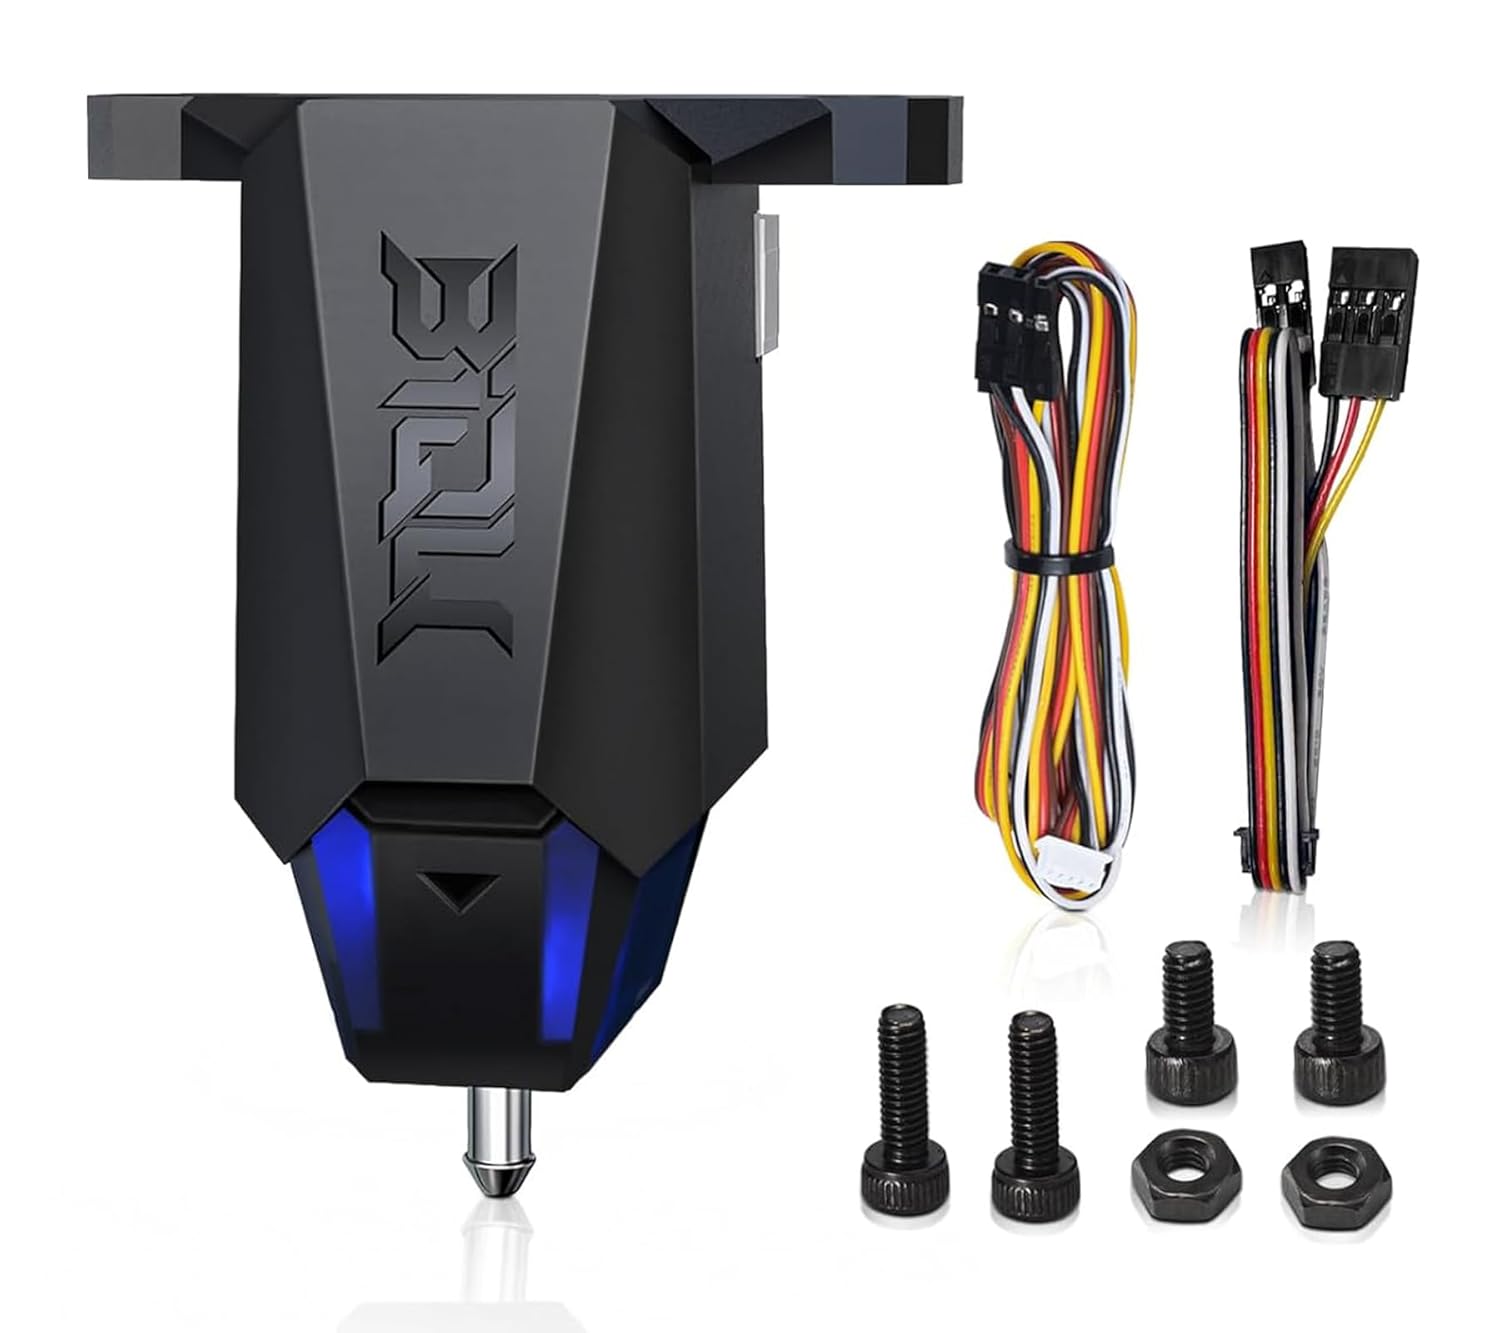
This compact and lightweight sensor offers high precision with an accuracy of 0.001 mm. It’s 46% shorter and 40% lighter than other auto bed leveling sensors, making it a great choice for those looking to upgrade their printer’s leveling capabilities.
BIQU Mirco Probe Review
Tips for Maintaining Bed Leveling
- Regular Checks: Even with auto-leveling sensors, it’s good practice to periodically check your bed’s level to account for any mechanical changes.
- Clean the Bed Surface: Ensure the print bed is free from debris and residue, as this can affect leveling and adhesion.
- Update Firmware: Keep your printer’s firmware updated to ensure compatibility with leveling tools and sensors.
- Check for Bed Warping: Over time, heat cycles can cause slight warping in the print bed. Using a straightedge ruler can help identify any deviations.
- Adjust Z-Offset: Fine-tuning the Z-offset in your printer’s settings ensures that the nozzle starts at the optimal height for the first layer.
Conclusion
Achieving the perfect first layer is one of the most important steps in ensuring successful 3D prints. Whether you choose to level your bed manually or invest in an automatic bed leveling system, consistency is key. Taking the time to properly calibrate your printer’s bed can save you frustration, filament, and time in the long run.
By utilizing high-quality tools like the BLTouch or Creality CR Touch, you can make the process easier and more precise. Additionally, maintaining regular checks and updates to your 3D printer will help sustain a high level of print quality.
If you’re serious about getting the best results from your 3D printer, explore the products mentioned in this guide to optimize your calibration process.
Happy printing!