Fixing 3D Printing Failures: Quick Fixes For Common Issues
Embarking on the journey of 3D printing is an exciting endeavor, but encountering printing issues can be a common hurdle. The good news is that many of these problems have straightforward solutions. Let’s delve into some prevalent 3D printing challenges and explore quick fixes, along with top-rated products available on Amazon to enhance your printing experience.
Common 3D Printing Issues and Their Fixes
Not Sticking to the Bed
One of the most common frustrations is when the first layer doesn’t adhere to the print bed, leading to failed prints.
Quick Fixes:
- Level the Bed: Ensure your print bed is properly leveled. An uneven bed can cause poor adhesion.
- Clean the Bed Surface: Remove any debris or grease from the bed. A clean surface promotes better adhesion.
- Use Adhesives: Applying a thin layer of adhesive can help.
Product Recommendation:
- Elmer’s Disappearing Purple School Glue Sticks
These glue sticks are a favorite among 3D printing enthusiasts for their ease of use and effectiveness in improving bed adhesion.

>>>Available Now on Amazon<<<
Under-Extrusion
Under-extrusion occurs when the printer doesn’t extrude enough plastic, resulting in gaps between perimeters and infill.
Quick Fixes:
- Check the Nozzle for Clogs: A clogged nozzle can restrict filament flow. Regular cleaning can prevent this issue.
- Increase Printing Temperature: Sometimes, a slightly higher temperature can improve filament flow.
- Adjust the Extrusion Multiplier: Tweak your slicer settings to ensure the printer extrudes the correct amount of filament.
Product Recommendation:
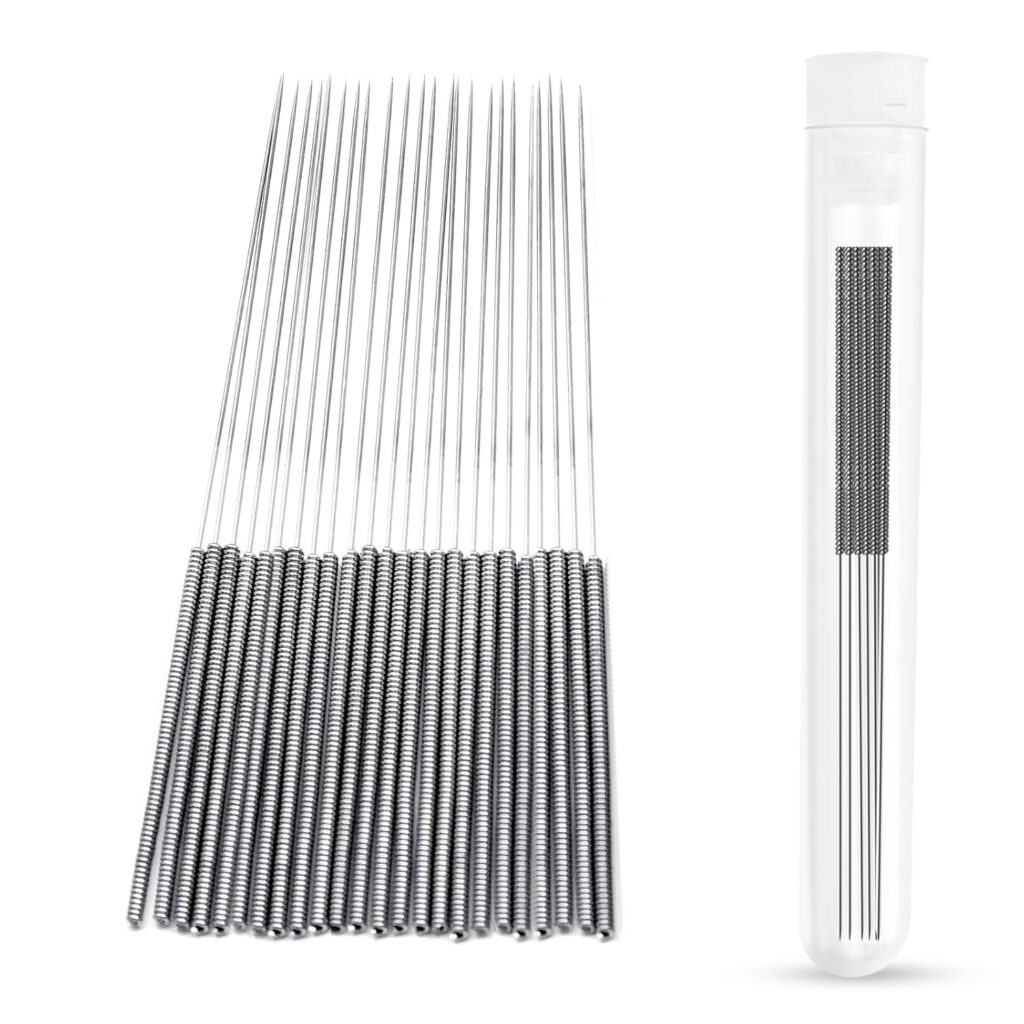
- 3D Printer Nozzle Cleaning Kit
This kit includes a variety of tools to help keep your nozzle clean and free from clogs, ensuring smooth extrusion.
>>>Available Now on Amazon<<<
Stringing or Oozing
Stringing happens when thin strands of filament are left behind during non-print moves, creating a web-like appearance.
Quick Fixes:
- Enable Retraction: Ensure that retraction is enabled in your slicer settings. This pulls the filament back slightly during travel moves to prevent oozing.
- Lower Printing Temperature: Excessive heat can cause the filament to become too runny. Reducing the temperature can mitigate stringing.
- Increase Travel Speed: Faster travel moves reduce the chances of filament oozing out.
Product Recommendation:
- 3D Printing Failures: 2022 Edition
This comprehensive guide offers in-depth solutions to common 3D printing issues, including stringing.
>>>Available Now on Amazon<<<
Warping
Warping occurs when the corners of a print lift off the bed, distorting the final product.
Quick Fixes:
- Use a Heated Bed: Maintaining a consistent bed temperature can prevent the bottom layers from cooling too quickly and warping.
- Apply Adhesion Aids: Using a brim or raft can increase the surface area of the first layer, helping it stick better.
- Enclose the Printer: An enclosure helps maintain a stable temperature, reducing the risk of warping.
Product Recommendation:
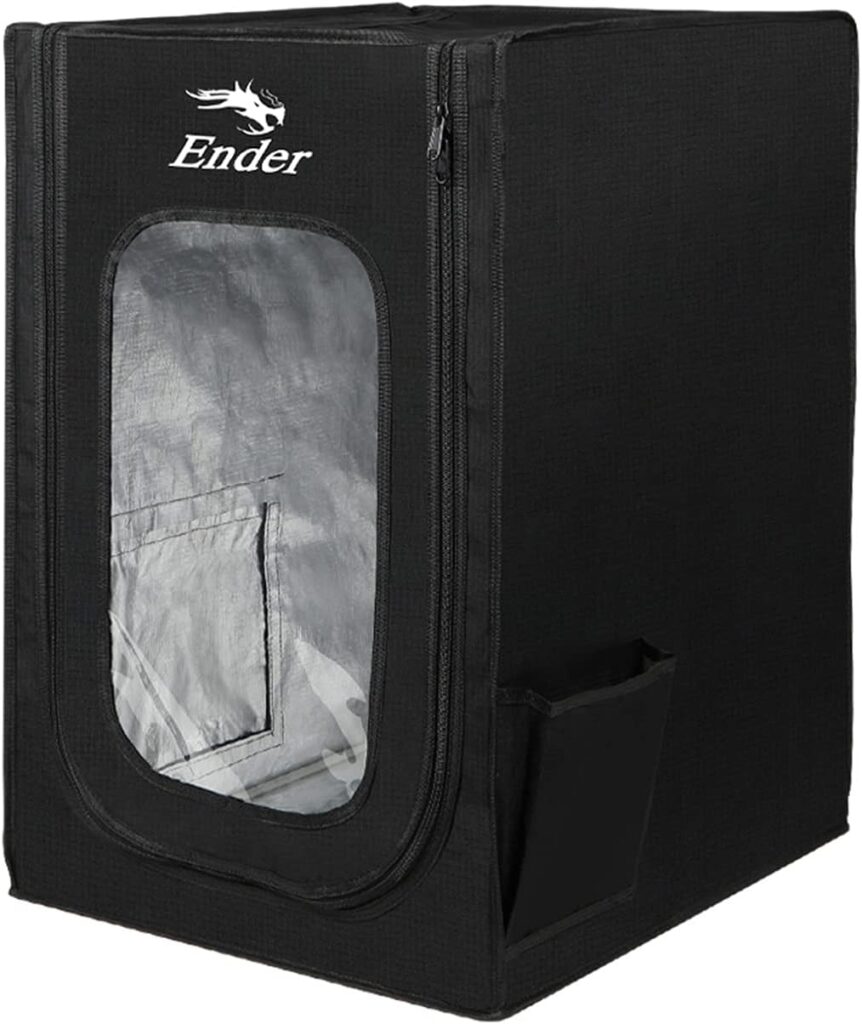
- Creality 3D Printer Enclosure
This enclosure is designed to maintain a consistent temperature, reducing warping and improving print quality.
>>>Available on Amazon – Buy Now<<<
Layer Shifting
Layer shifting results in misaligned layers, giving the print a skewed appearance.
Quick Fixes:
- Check Belt Tension: Loose belts can cause layers to shift. Ensure all belts are properly tensioned.
- Secure the Print Bed: Make sure the print bed is stable and not wobbling during printing.
- Inspect for Obstructions: Ensure there are no obstacles in the printer’s path that could cause it to skip steps.
Product Recommendation:
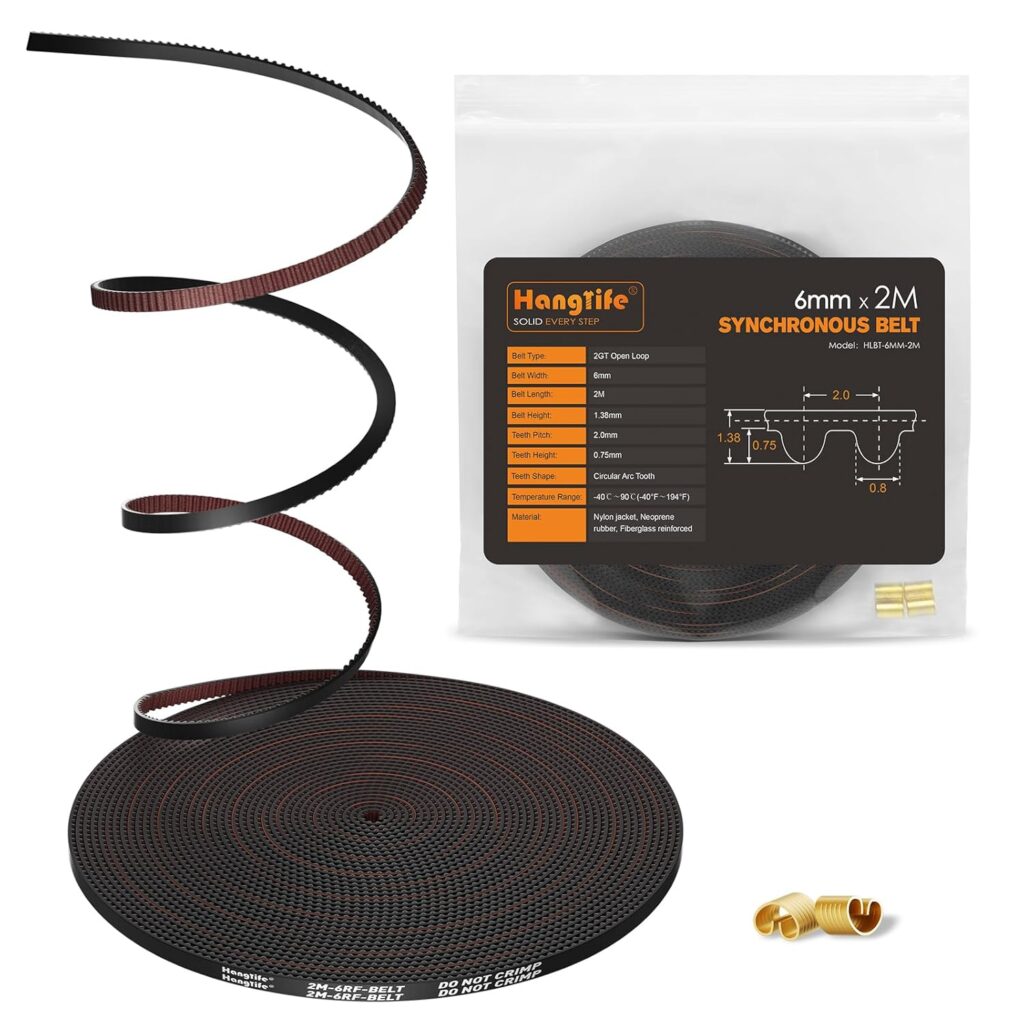
- 3D Printer Timing Belt Kit
This kit includes high-quality belts and pulleys to replace worn components and prevent layer shifting.
>>>Available on Amazon – Buy Now<<<
Clogged Nozzle
A clogged nozzle can halt your printing progress and affect print quality.
Quick Fixes:
- Perform a Cold Pull: Heat the nozzle, feed filament through, then cool it down and pull the filament out, bringing any debris with it.
- Use Cleaning Filament: Special cleaning filaments can help remove residual debris inside the nozzle.
- Regular Maintenance: Regularly inspect and clean the nozzle to prevent clogs from occurring.
Product Recommendation:
- eSUN 3D Printer Cleaning Filament
Designed to clean out residual filament and debris, this cleaning filament helps maintain optimal nozzle performance.
>>>Available on Amazon – Buy Now<<<
Over-Extrusion
Over-extrusion leads to excess filament being deposited, causing blobs and a rough surface finish.
Quick Fixes:
- Calibrate Extruder Steps: Ensure your extruder is calibrated to push the correct amount of filament.
- Adjust Flow Rate: Lower the flow rate in your slicer settings to reduce the amount of filament being extruded.
- Check Nozzle Size: Using an incorrect nozzle size can lead to over-extrusion.

Conclusion
3D printing comes with a learning curve, but with the right troubleshooting techniques and tools, you can overcome most common printing failures. By taking proactive measures like regular maintenance, using high-quality filament, and fine-tuning printer settings, you can achieve consistently successful prints.
If you’re facing persistent issues, investing in top-rated 3D printing accessories and maintenance tools from Amazon can make a significant difference. Happy printing!